My Process
All in all, from start to finish, I will use every tool at my disposal, infuse every ounce of creativity, and pour my heart and soul into all aspects of the project, so that the results exceed both of our expectations. I love what I do and care about the outcome. I work with passion, enthusiasm, and professionalism. I do hope that we get the chance to create together.
Step 1: Introduction
Our first interaction is for us to get to know each other. I will inquire about your intended artwork and give you a little info about myself, how I work, and what you should expect. I will provide a flowchart, further explaining the process, give you a basic pricing guide, and frequently asked questions.


Step 2: Consultation
During the consultation I will get a feel for the ambience we are trying to create and familiarize myself with your taste. If in person, I will take dimensions and photos, and note the existing architecture and elements in the room that I may incorporate into the final design. We can discuss the budget, or at least a high and a low, based on the square footage.
 Color Palette
  Taste
Taste  Space
Space  Dimensions
  Photos/Videos
  Budget
 Step 3: Preparation
Preparation is broken down into three categories: conception, design, and physical materials. Conception is research and gathering as many ideas as possible. Design covers shooting reference photos, sketching, digitally painting, and creating a final, to-scale image. Materials covers shopping for supplies, pre-mixing paint, and cutting stencils.
Conception
 Internet Research
  Compile Photos
  Gather Ideas
  Develop Concept
 Design
 Reference Photos
  Sketching
  Design to Scale
  Rendering
 Materials
 Shop for Materials
  Create Stencils
  Pre-Mix Colors
 Step 4: Execution
Execution consists of any or all of the following styles and techniques. If I'm creating a landscape, I typically use spray guns and airbrushes for the sky, hand paint the mountains, sponge and hand paint the trees, and use speckle, drip, sponge and other faux techniques for the rocks.
Techniques
 Airbrush
 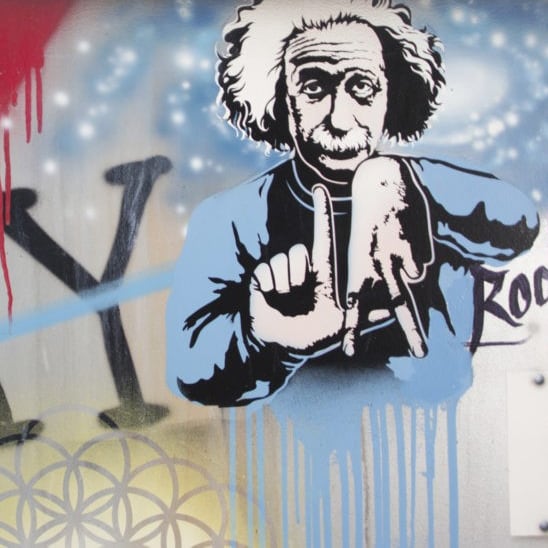 Spray Paint
 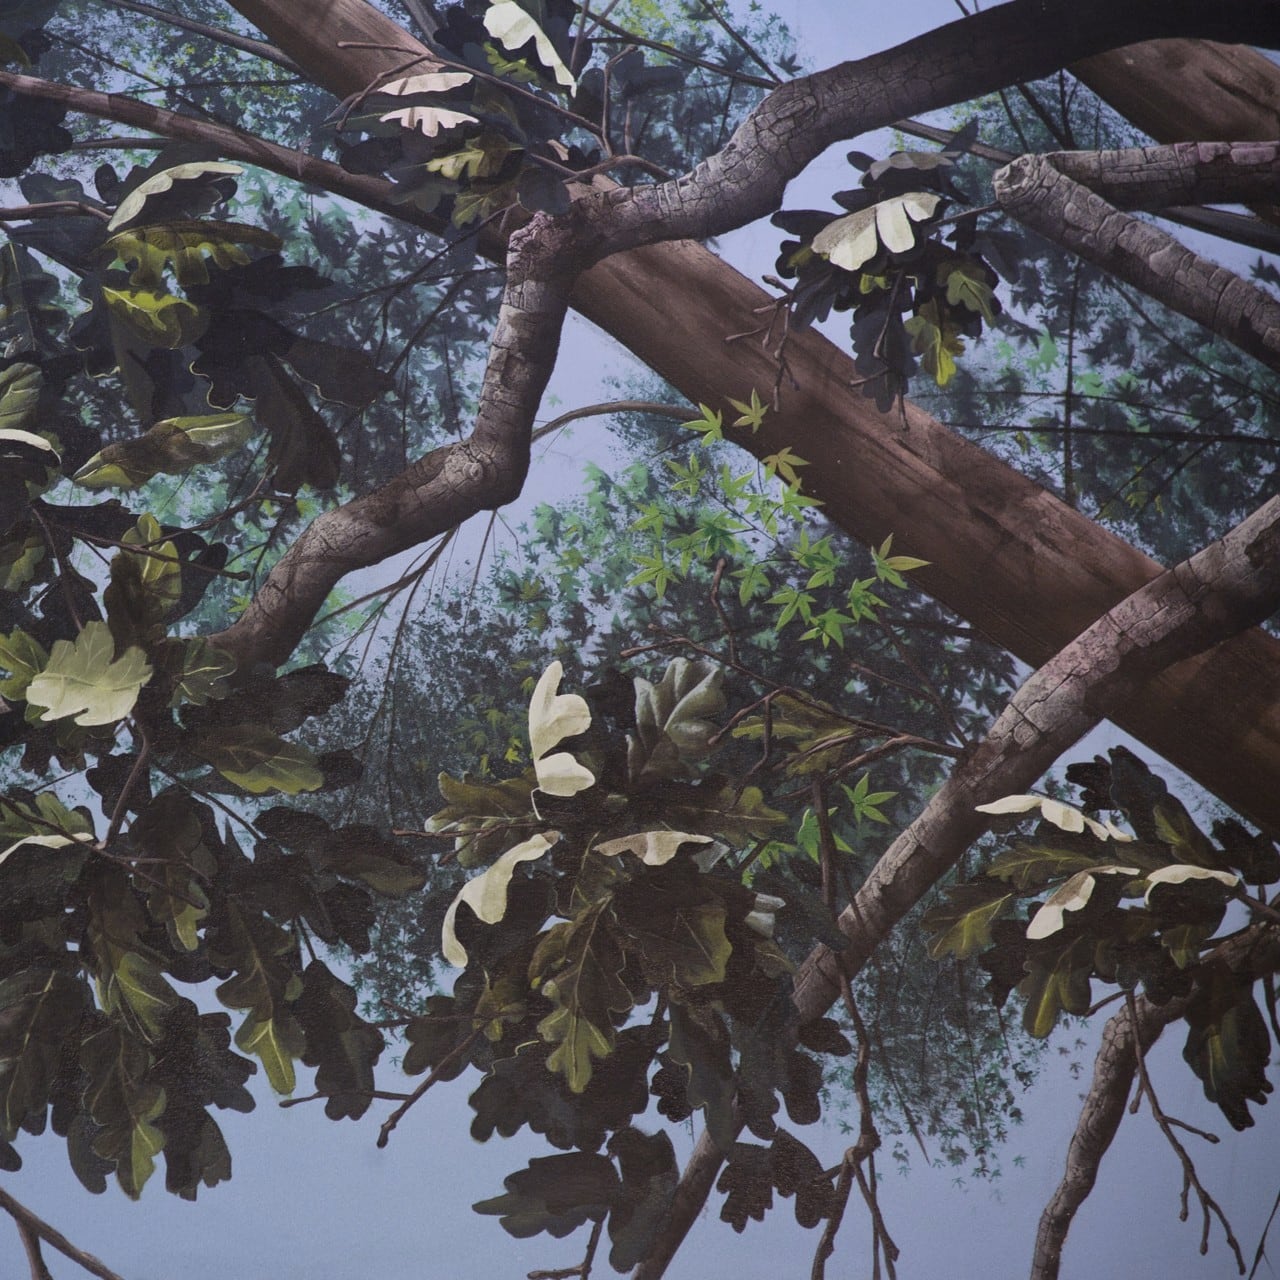 Hand Paint
 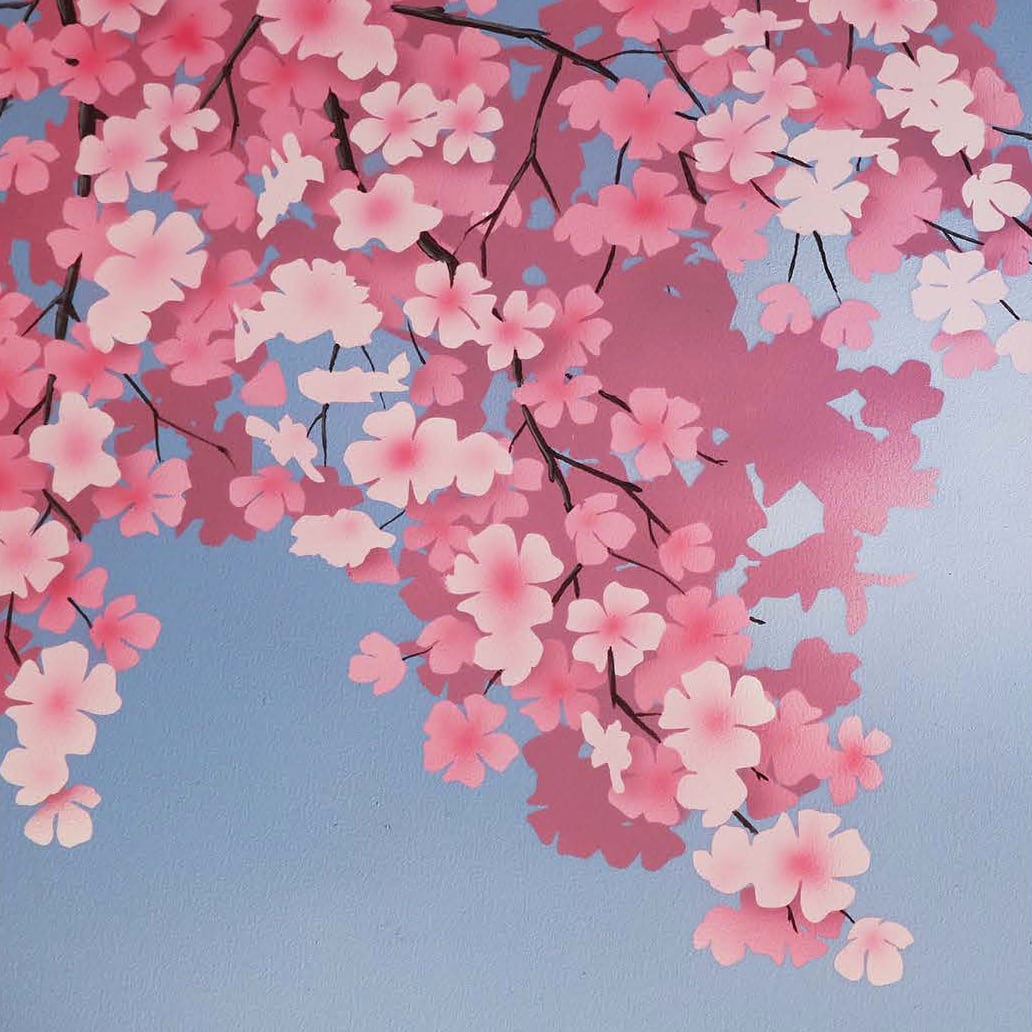 Stencil
 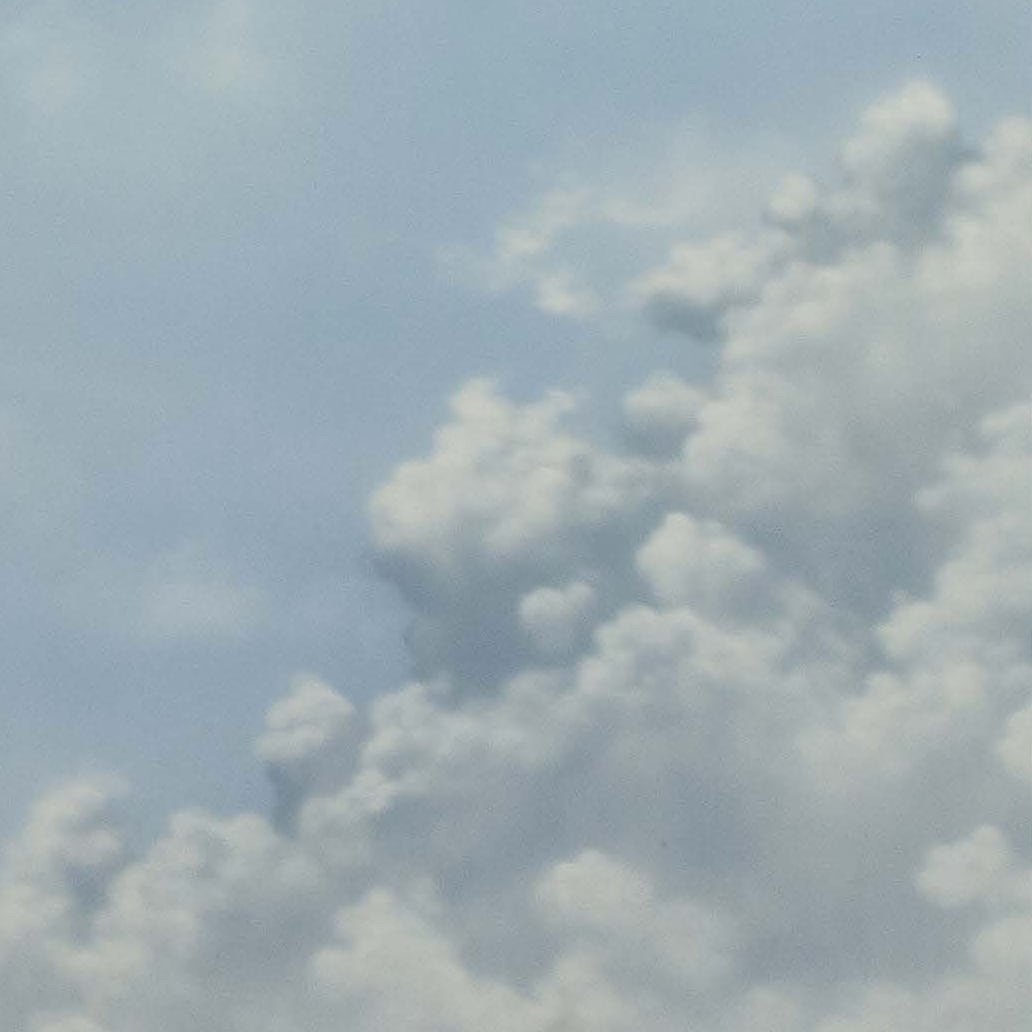 Spray Gun
 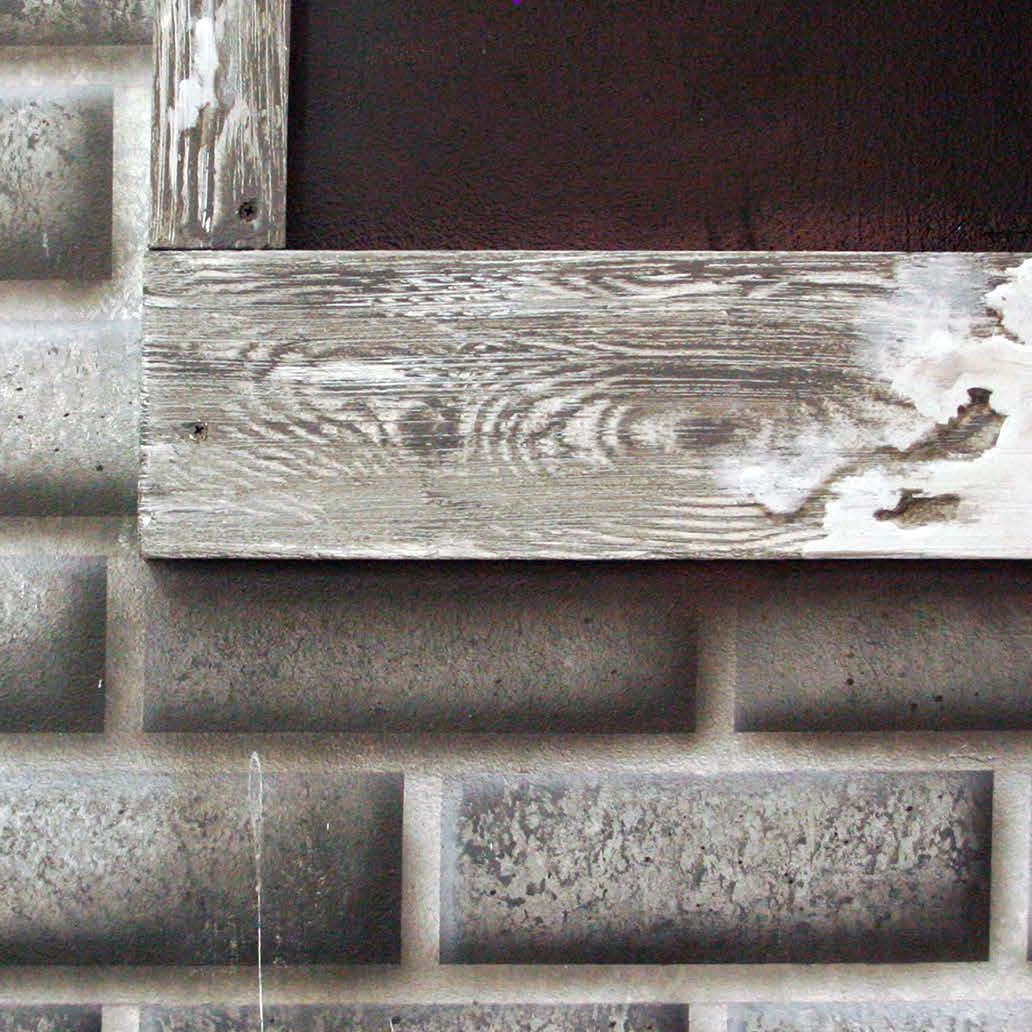 Wood Grain
 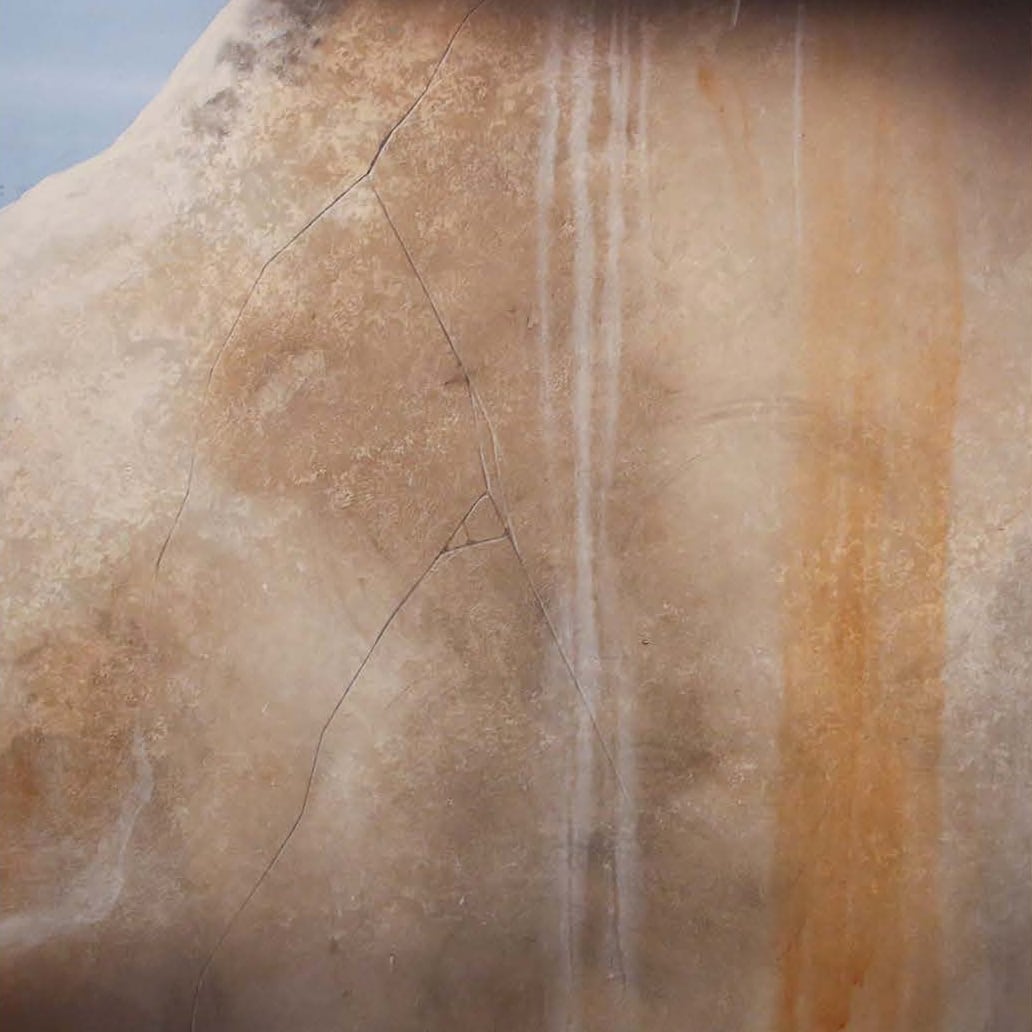 Sponge
 Styles
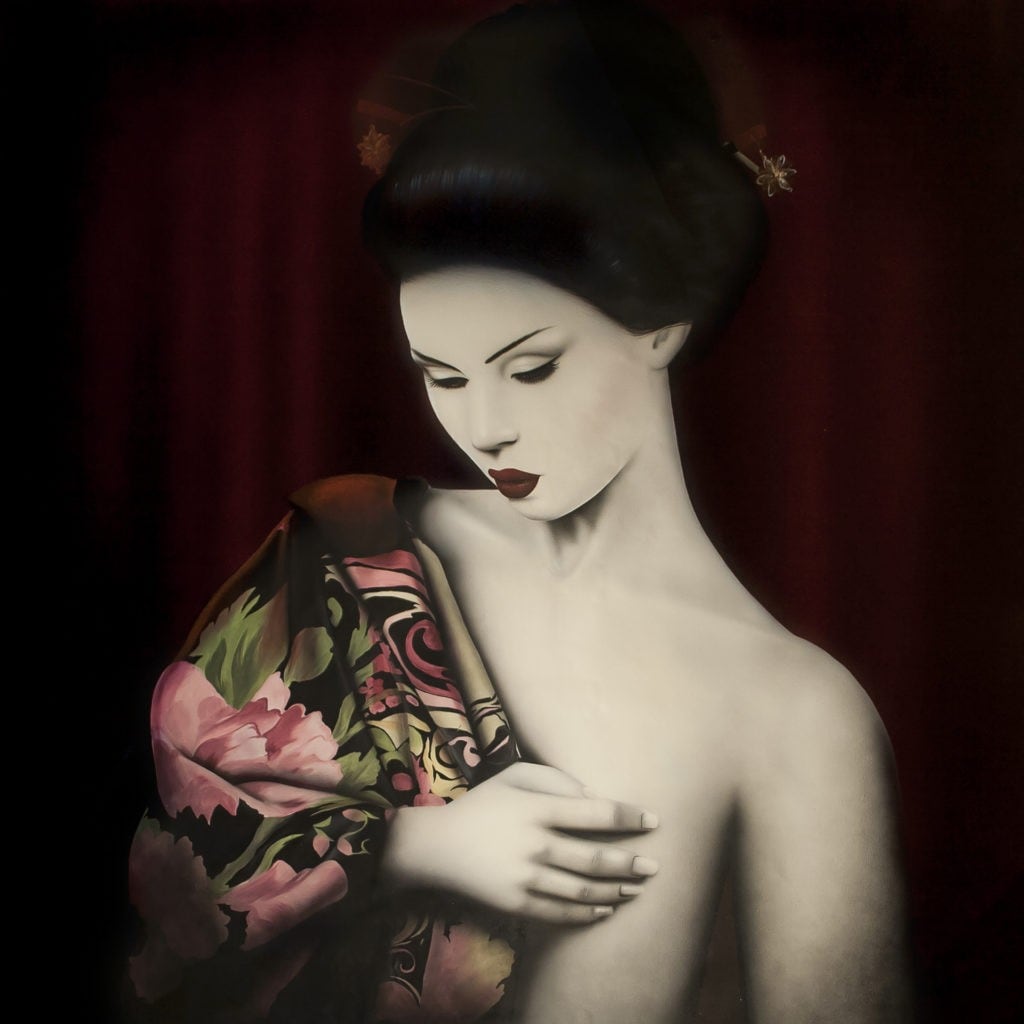
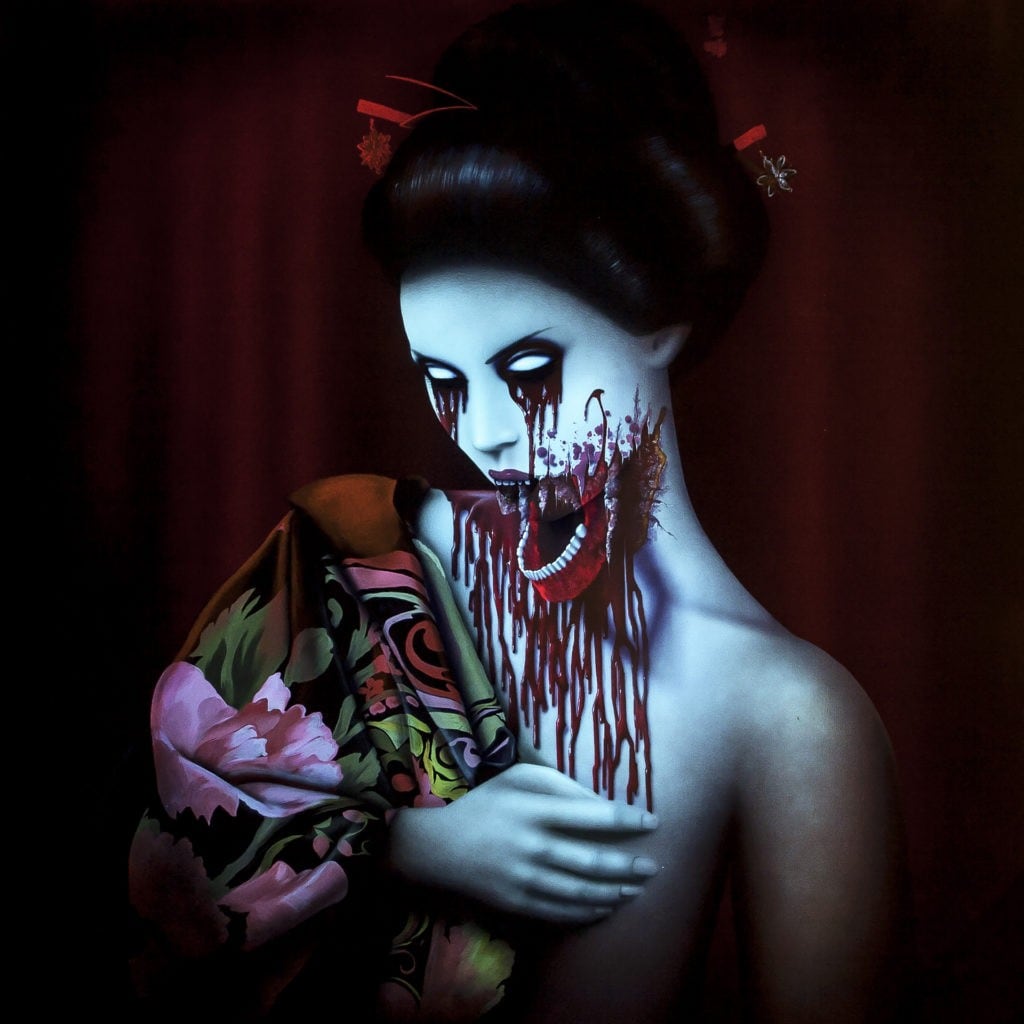
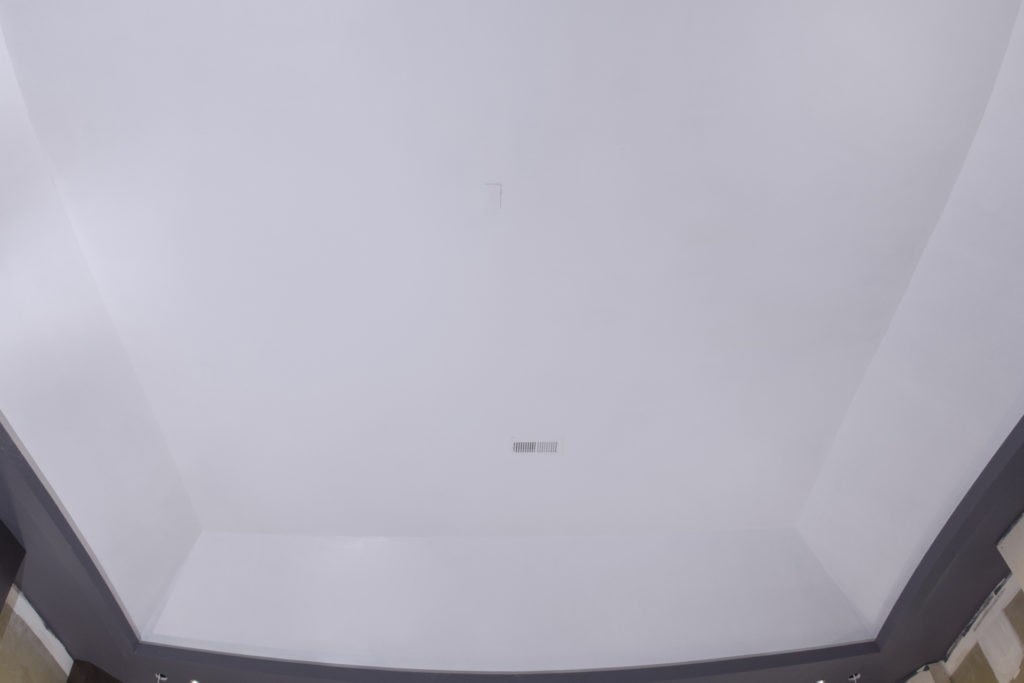
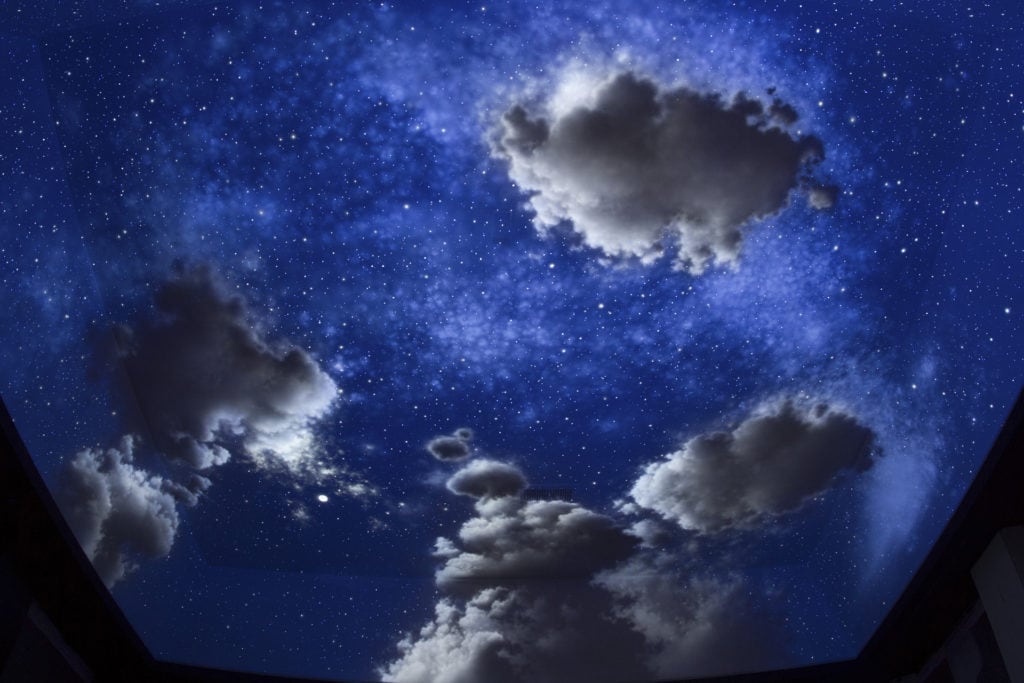
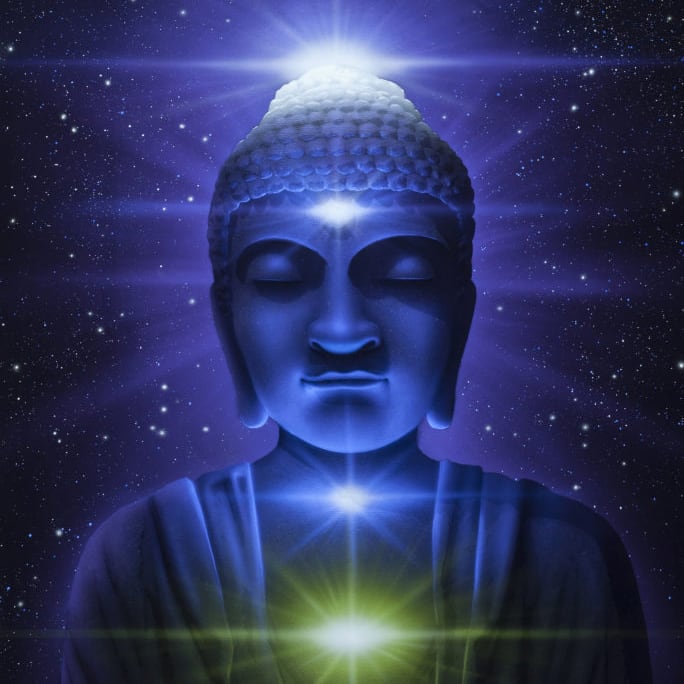
Day Light to Black Light
Many pieces hold two complete images at once: one under normal daylight, a second revealed only under black light. Drag to reveal.